makers lab 2019
04.02-
08.02.
go to
week 2
week 1
made a personality test
got to know each other
got to know the laser cutter
got to know the vynil plotter (his name is roland)
made a blind drawing of Wouter
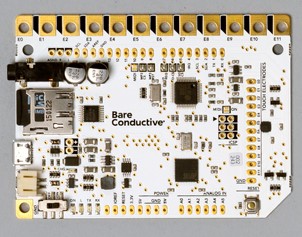
got to know the Bare Conductive TOUCH BOARD
encountered problems during the first contact with the TOUCH BOARD
got to know the concept of a zine (and liked it)
got to know hotglue
whats new?
what i have
done
made a blind drawing of Wouter (he was not amazed)
tinkered with the Bare Conductive TOUCH BOARD and simulated a guitar (Teamwork with Wouter)
made this hotglue-page (Landingpage and template for weekly documentation)
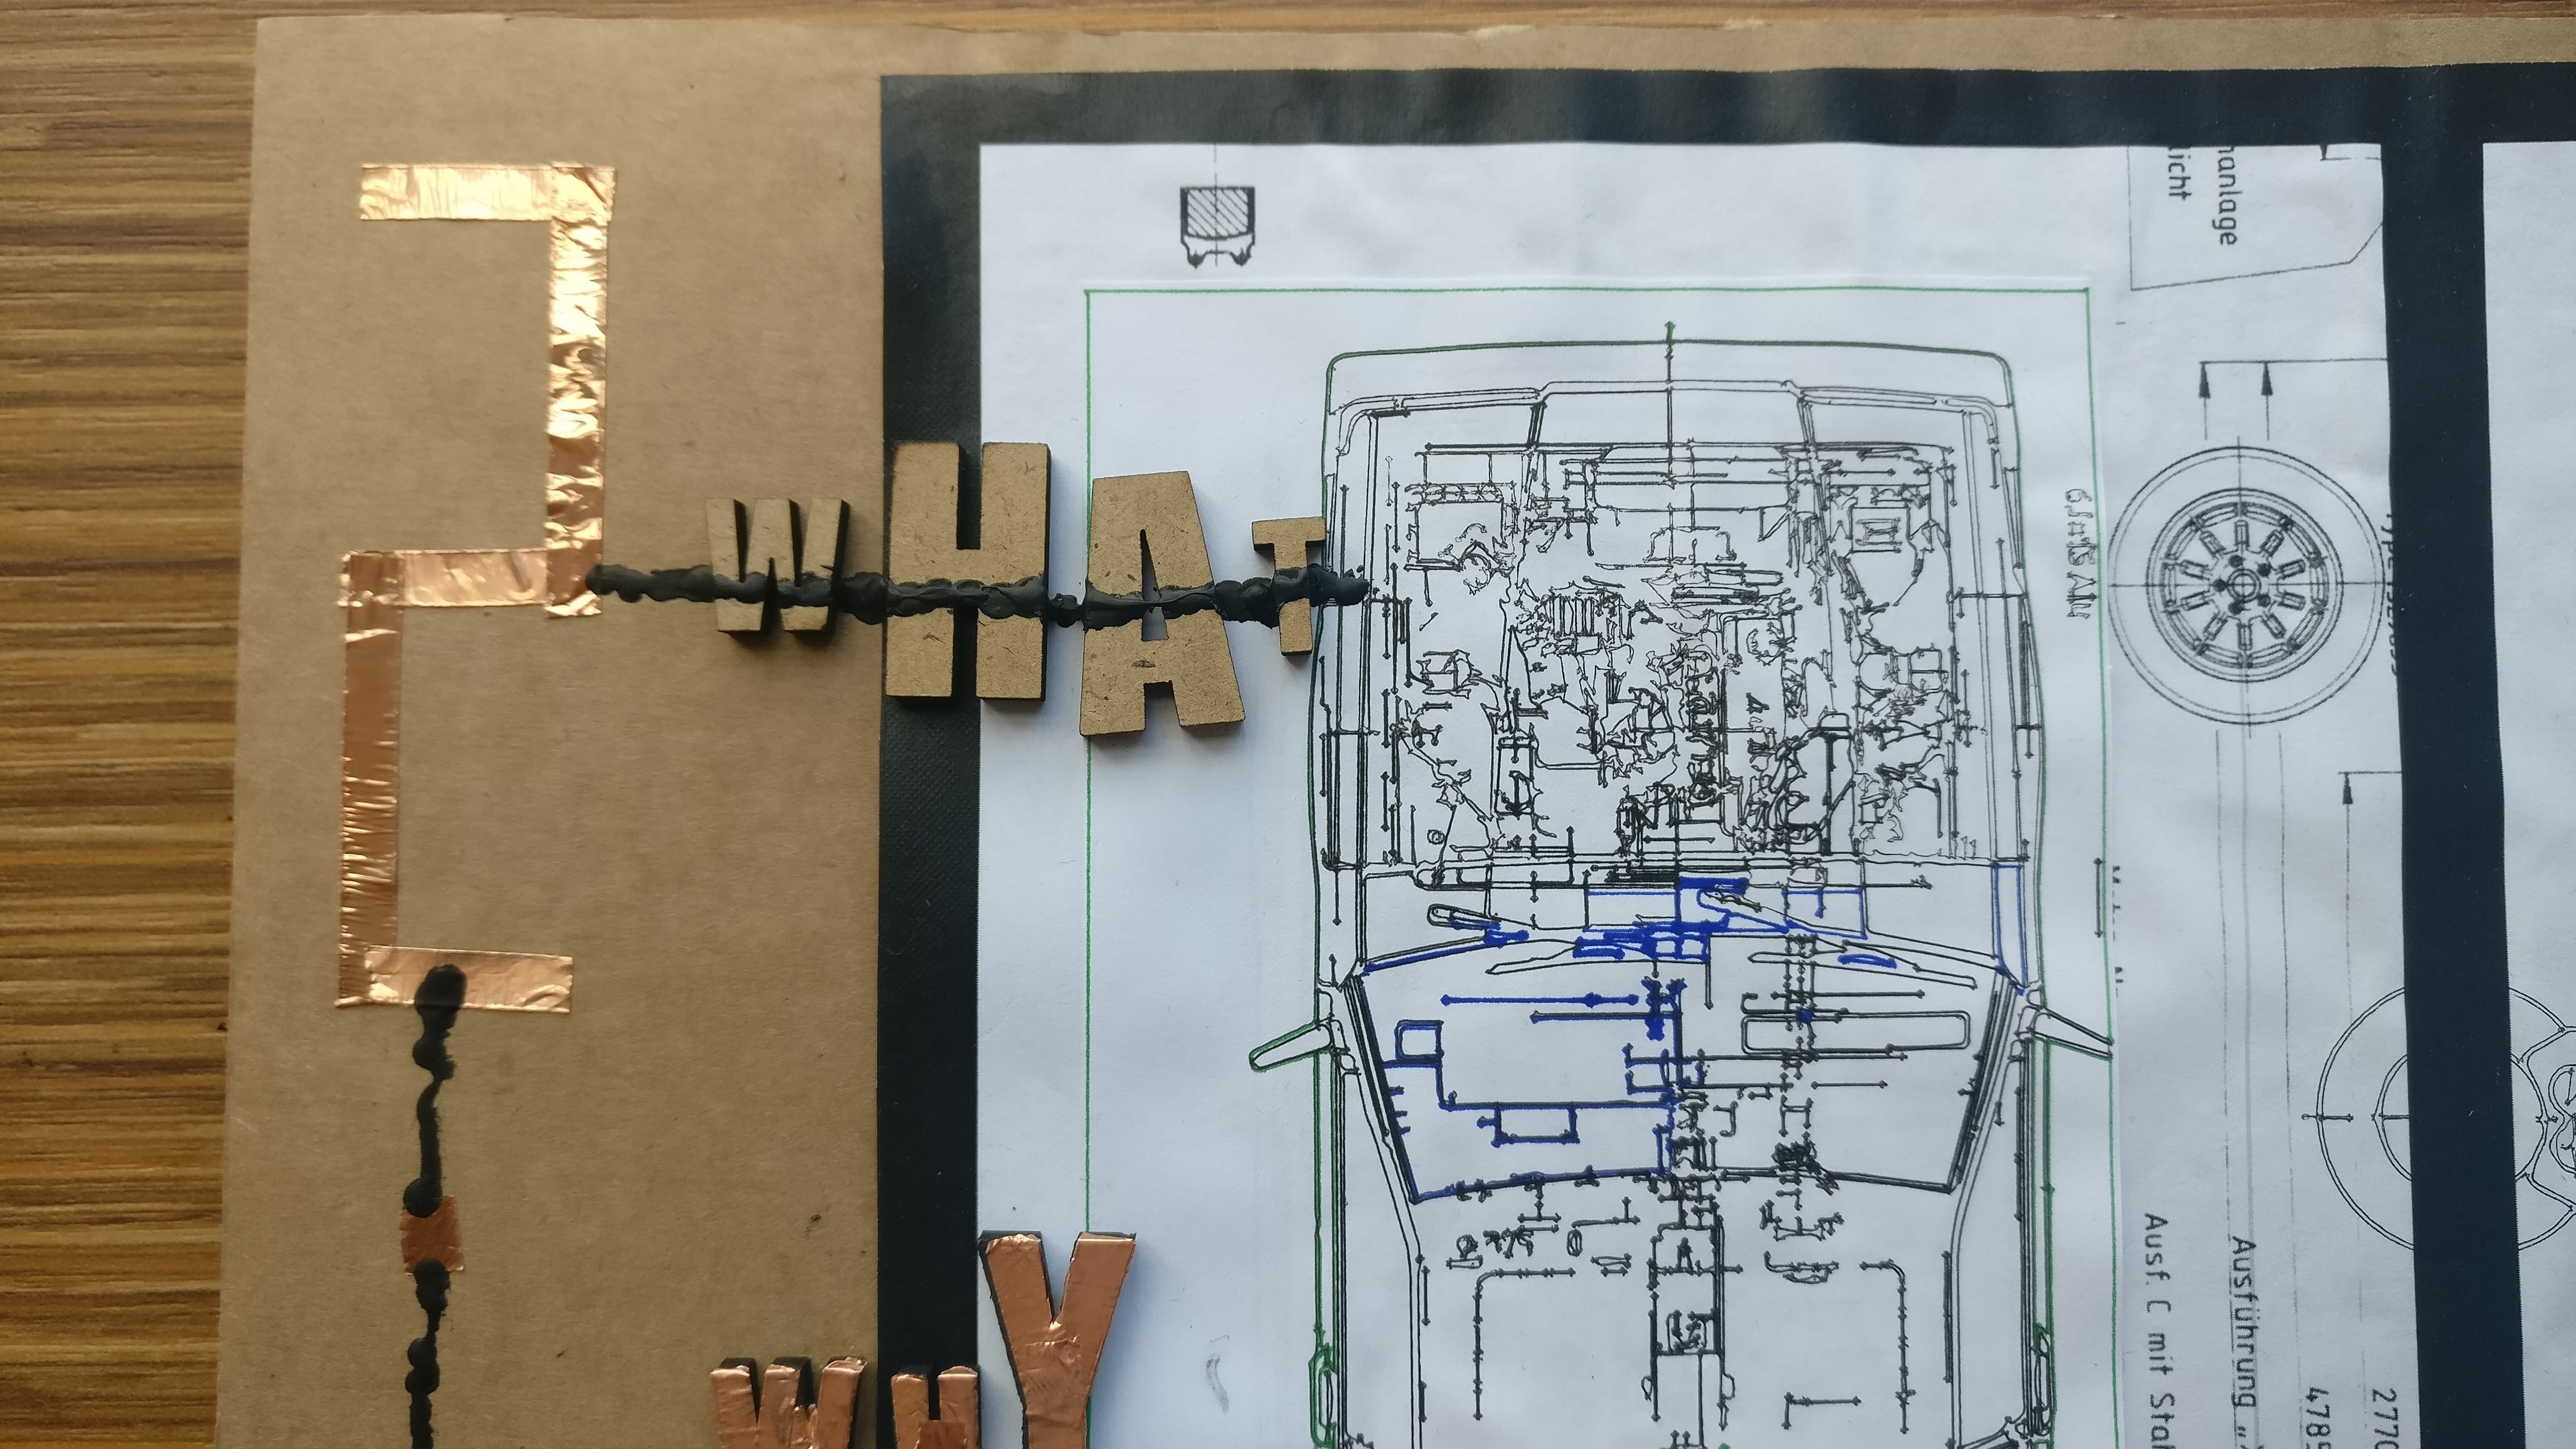
made a sound portrait from Wouter which focusses on his characteristics using different materials and machines: vinyl cutter with pen adapter, lasercutter, technical drawings of old Volvo cars, different conductive materials and different sounds
reflection
The first week was nice and a lot of input. I have the feeling I got an idea of what is possible to make in the lab but I am still excited for the other machines and possabilities we have not been introduced to yet.
I particularly liked working with the vinyl cutter, which I explored a bit throughout the sound portrait assignment.
Especially the UV Printer and the machine to create own cirquit boards made me curious.
note of the week
My brain starts to recognize all the possabilities especially in combination with game design.
I need to document idea flashes right away, I didn't do that this week.
Also, I learned (once again) talking to likeminded people about the things you make benefits the output almost everytime.
collaborative learning
I worked together with Wouter in the first week. The getting to know each other was quite weird at first, because nobody knew each other in general but we still got a rough idea of which abilities everybody brought with them.
What's worth mentioning: I for example considered the interview we made more on a personal note. Wouter took the professional approach. We managed to get a pretty good idea of the other person still and were able to make a sound portrait out of it.
During the show and tell of the first tests with the Touchboard I got inspired by the pieces of the students which tried to tell a story when first setting up the boards. I had not thought about that approach before, I more gave the first test a instrumental approach (not that storytelling isn't functional). So I included this inspiration in the realisation of the soundportrait. Also Loes gave a lot of useful input to my idea with the schematics when suggesting to turn the schematic into a vector, which I did and used as the main ingredient for the assignment in the end.
When testing out the Touchboard in the first place (we made a little guitar) I profited a lot from Wouters experience in electronics since he is a engineering student. For my taste it was a little bit unfortunate, that I didn't have to do the Conductive Touchboard tests by myself at first and I noticed that bugged me. So after we finished, I asked for a second run, where I could assemble every part myself and on my computer in order to understand. Wouter explained a bit in addition, which was very helpful. Also when making the sound portrait, we checked up on each other, if the direction is ok considering the contents we would integrate in the portrait.
this week's zine
assignment
Make an interactive sound portrait to introduce your classmate (or one of his/her signature traits) to the rest of the class.
Your portrait contains;
- Image (drawing, self-made object, otherwise)
- Sound (freesound mp3, self-recorded sound, otherwise)
- Interaction (trigger the sound through any conductive material, in such a way that it reflects the classmate’s character)
Based on this schematic I made a vectordrawing in InDesign and put it in the vinyl cutter with the pen adapter to draw over the print
idea & iterations
The soundportrait of Wouter should combine parts of his personality with hobby and passion. So I chose to focussed to show one of his hobbys, the working on cars, and to combine it with his technical background through a visual language.
I wanted to use schematic drawings of a Volvo, because he recently fixed Volvo by himself and that story was worth showing in my opinion. The idea of how to assemble the portrait shifted from an initial approach of making two layers to making a triptichon.
1. The Two layer approach --> I wanted to make a portrait from two layers, one of them should be translucent, but not completely seethrough. Beneath the surface there should be technical drawings and more to explore through the touchpoints which would trigger the sounds.
I did not follow that first idea, because I found it more important to get to know the different machines in the lab during the week and that approach while conceptionally appealing to me was a little bit too much 2D to try out different things.

testing & learning
I wanted to use a mixed technique and try as many conductive materials as possible in the piece. I went for a comic-like visual style for the underlining of the storytelling approach and included letters which should be connected to the touchboard and then trigger the sound. The visual should be a kind of collage where I could try out different things in the Lab.
I used:
- Lasercutter (MDF) for the lettering with standard settings from library
- Vinyl cutter with pen adapter with different settings
- Conductive paint
- Coppertape
- Aluminium wire
- Conductive thread
Coppertape + conductive paint
combination
Vynil drawing with different pens (rollerpen, Stabilo) and different power settings adjusted on the fly with the lever
Vynil cutter drawing over print with Stabilo pen
Wire, paint and copper combination (still worked!)
the sounds
Through the sound component of the portrait I wanted to show the process of fixing a car. Steps like research, working on parts, trying things out and having the reward of success in the end. I chose to use human and technical sounds. In the end there were 6 sounds implemented in the portrait:
1. WHAT? = sound of failing engine
2. WHY = sound of man making "hmmm"
3. HOW = sounds of working with a socketwrench
4. MAYBE THIS = sound of drilling or hammering
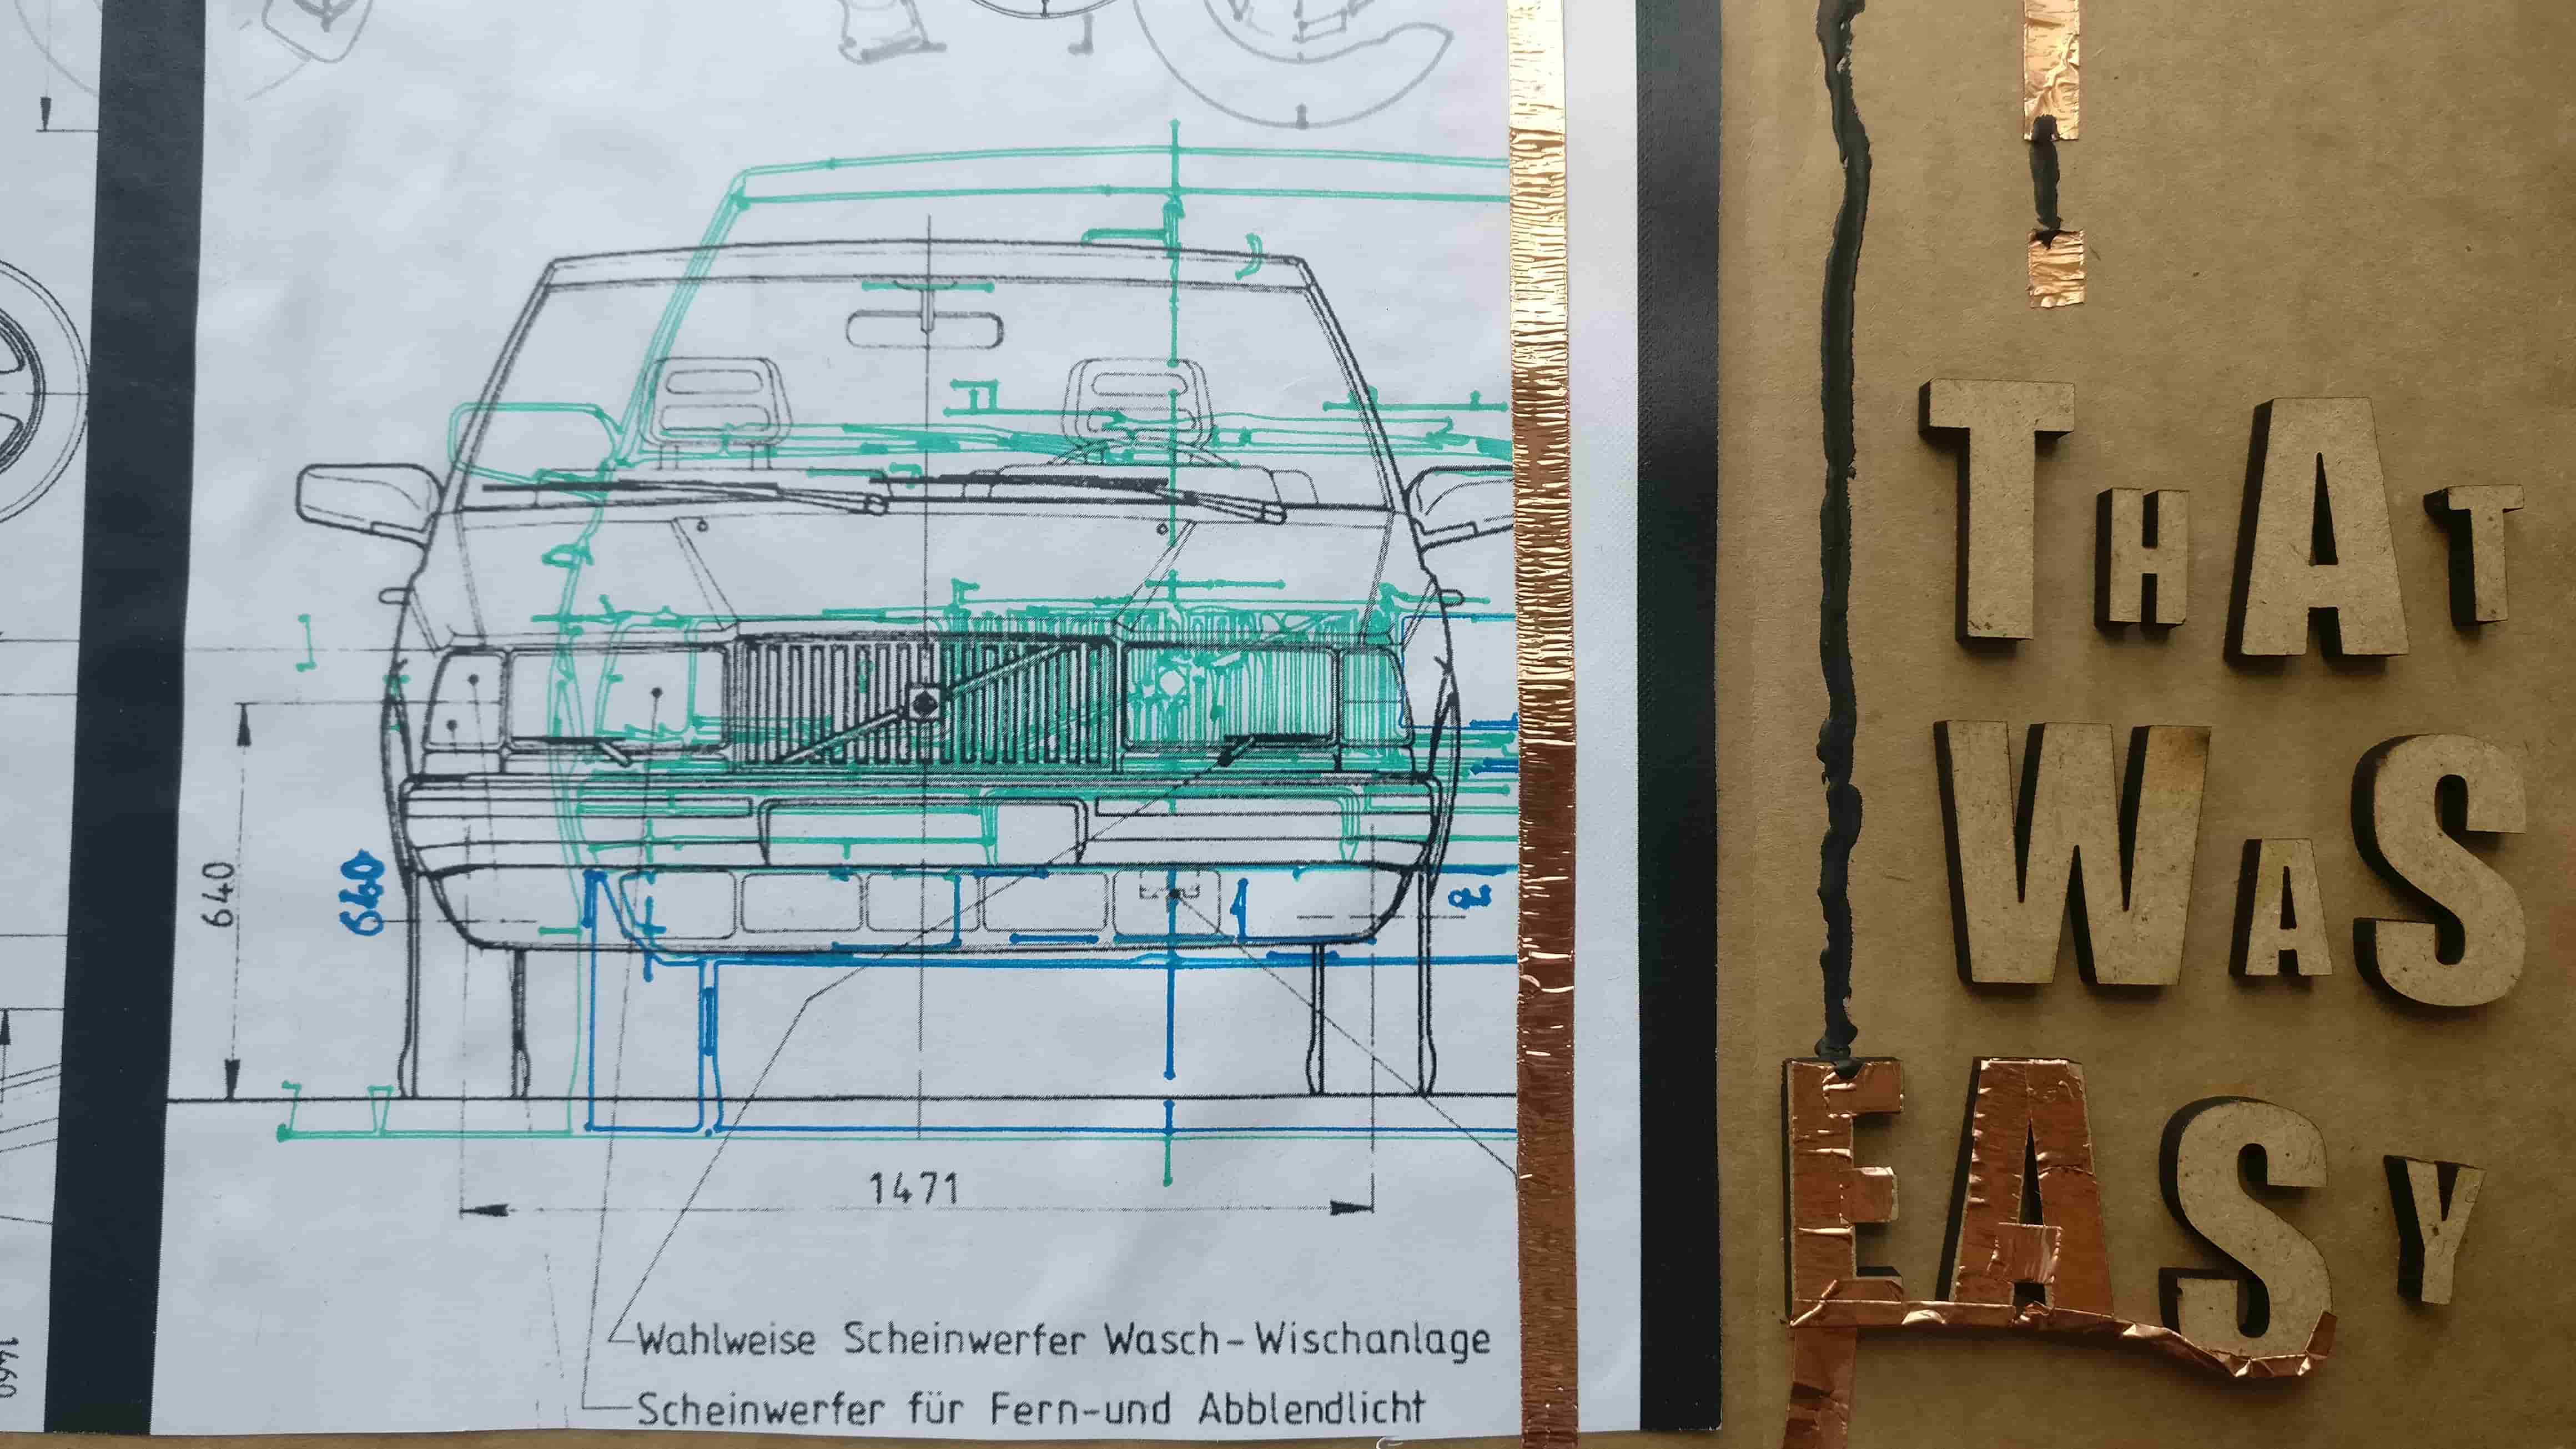
5. THAT WAS EASY = sound of starting an engine (a Volvo, of course, needs to be accurate after all :))
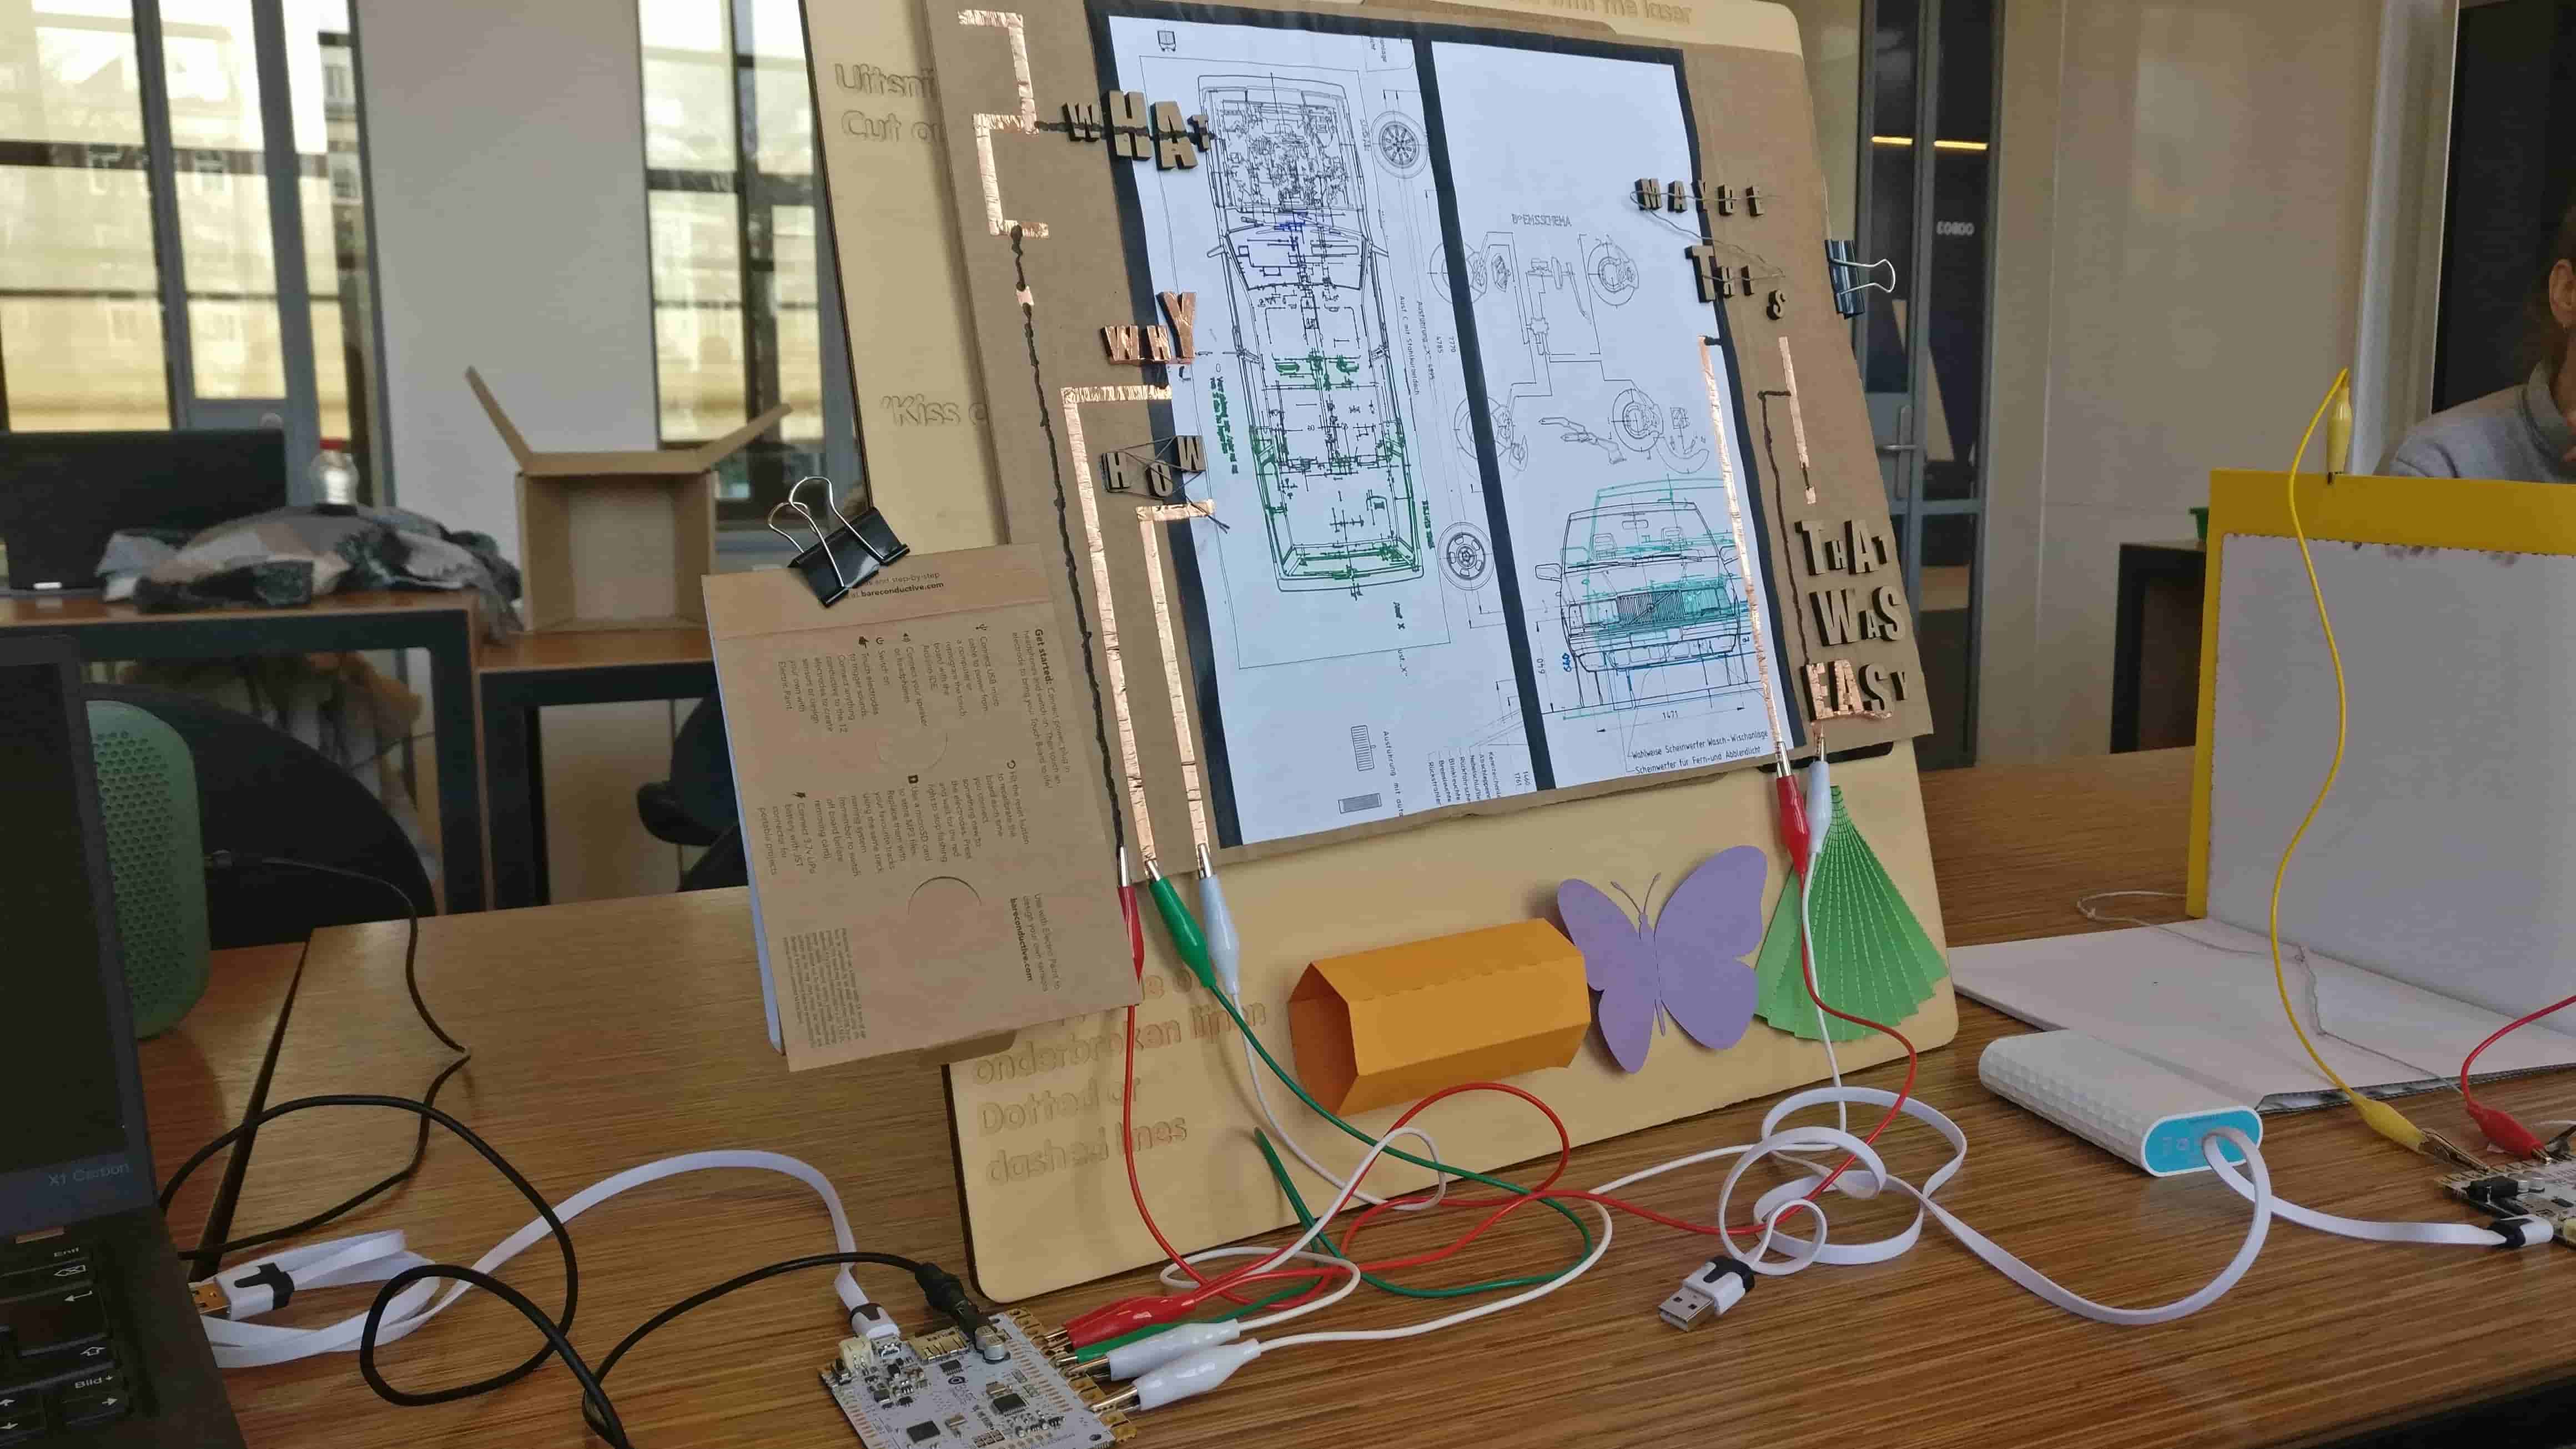
final portrait, wired and ready to be explored
kick off & introduction
SOURCE
iterations
First I printed a basic design, how I wanted it to be. The plan was to make a collage out of it. Then I got input from Loes to try out the vinyl cutter with the schematics.
Therefore I needed to make a vector drawing from the picture of the schematic. The results were so nice, that I decided to cut away the left part of the triptichon and focus on drawing with the vynil cutter over the print.
To make the vector drawing I used the "Bildnachzeichner"-Tool in Illustrator with the setting to "technical drawing". By adjusting the "Schwellenwert" I could easily control how detailed I want the drawing to be. However raising it over a certain point, the effect turned in the negative. I think the result is strongly dependent on whatever basis picture or graphic is used. It certainly helped to try everything out in the first place to see what happens in the programme.
In the picture on the right you can see the effect with the "Schwellenwert" raised to 191. The drawing is more detailled, as you can see especially well when looking at the driving wheel.
There are many more settings to test with a picture which can alter the quality of the outcome, as shown in the picture below. I especcially tweaked the settings for "Ecken" and also tried different presets until I found the result I was looking for.
Final vectordrawing from InDesign
creating a vectordrawing from InDesign
the final vectordrawing
After all the final drawing was not clean and also not 100% accurate coming out of illustrator.
But the tool gave the drawing a unique appeal I found very charming and interesting to try out with the vynil cutter pen adapter. I was very curious how the multiple paths would turn out and which settings bring out the best of the drawing.
Also I wanted to try various pens with the vynil cutter to see for example which pen has what effect when e.g. altering the pressure.
As you can see in the picture below, I switched pens during the drawing process multiple times.
Settings: Force to minimum, Speed to maximum
--> The Stabilo Fineliners tended to be messy. I altered the force manually with the lever on the bottom of the machine and therefore I could also create thinner lines.
--> The Roller Pen was a dream! You see below: The whole engine part is drawn by the roller pen. Also while altering the force manually, so I could have some variation in the thicknes of the lines. The process tool a look time (mostly because of the messyness of the vectorfile, but also because I needed to stand next to the machine for the hole time and playing with the force)
the sound portrait
files
source for soundfiles